
Today, we will explore the process of using our new Stanley vinyl wraps. These wraps are pre-cut to fit your Stanley tumblers perfectly, ensuring your tumblers look unique.
Vinyl wraps offer an exciting way to transform your ordinary Stanley into an extraordinary accessory.
They allow you to express your style, make a statement, or add a splash of color to your daily routine. But the beauty of vinyl wraps extends beyond aesthetics. Plus, they add more grip to your tumbler, making it even more comfortable to hold.
So, are you ready to give your Stanley a makeover? This post will help you get started.
How To Customise Your Stanley With Vinyl?
Use your scissors to cut out the white areas of your vinyl, cut as close to this line as possible to create a neat line for wrapping it on the tumbler’s handle. Repeat this process for the top line to ensure it aligns with the silver part of the tumbler.
After trimming the white parts off, the wrap should look like this. Next, fold one corner of the wrap to lift it off the paper.
Fold back a small section of the wrap (about a quarter inch) and align this edge with the handle of the cup, placing it as close to the top as possible.
Once aligned, fold down the wrap and lay that part of the vinyl down. Now, it’s wrapped on the tumbler. Continue to roll it on there like you would with any other vinyl.
If you notice any misalignment on the handle, simply take a small exacto knife and trim off the excess edge.
Conclusion
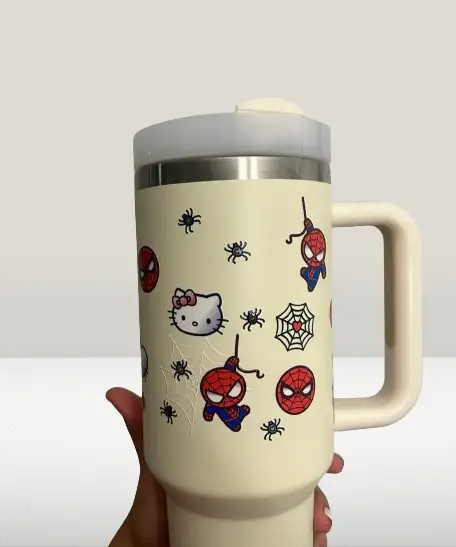
And there you have it! That’s how you use our Stanley vinyl wraps. The wrap not only enhances the look of your tumbler but also allows the color of the vinyl to pop more, especially on a cream-colored 30-ounce tumbler.
Remember, the base coat of the cup can change the appearance of the vinyl, so feel free to experiment with different colors.